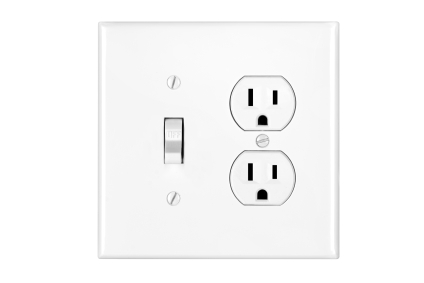
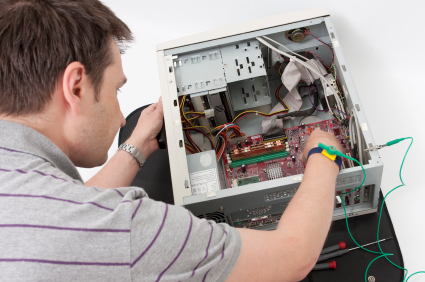
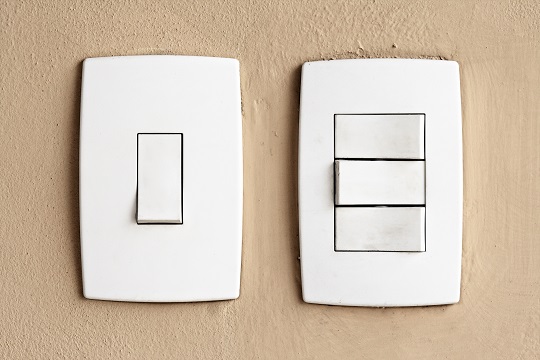
Have you finally decided to make improvements to your place for the sake of convenience in the long term? Good for you, go-getter. Follow this guide in order to learn how to wire a combination outlet switch.
Materials needed:
– Screwdrivers that are compatible with the screws
– Screws that are compatible with the wall/outlet
– Voltmeter
– Rubber gloves
– Wiring & wire nuts
– Combination outlet cover plate
Steps:
1. Go into your place’s circuitry box and power off the specific switch that you are using. Make sure that it is the correct one before you start working.
2. Lock the box (and leave a notice) that electrical work is being done. You could be in danger if someone flips the switch while you are working.
3. Put your gloves on.
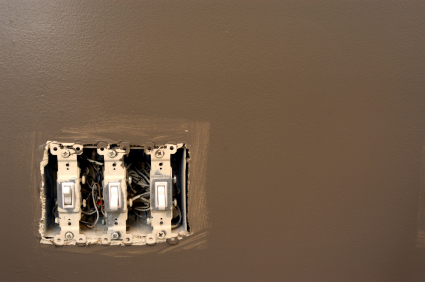
4. Using the screwdriver, loose the (light) switch plate you want to replace.
5. Use the two ends of the voltmeter to check that the power is off (report of 0V) on the switch’s terminal wires.
6. Get hold of the wires that were connected to the switch.
7. There should be four wires in total- two hot wires, one neutral wire, and a green ground wire. Cut them open (around 3 inches.)
8. Remove the outer wiring to expose the metal cord with the wire clippers.
9. Connect the hot wires together by twisting them together at the middle of the metal.
10. Use the wire nut to cover the ends of the wires together.
11. Connect the twisted ends of the hot wire to the bronze terminals of the combination outlet cover plate.
12. In a similar way to how you connected the hot wires together, connect the neutral wires together and secure the connection under the terminal.
13. Connect the ground wires together and secure the connection under a screw.
14. Place the combination plate in position and screw it in.
If you feel like you need professional help wiring your combination outlet switch, use TalkLocal to find a high quality electrician in your area.

