Archive for the ‘Landscapers’ Category


Different Home Deck Styles

Wednesday, March 13th, 2013

 Different Home Deck Styles - Landscapers

Knowing which to choose among the different home deck styles can be a tricky task. Choosing one to suit your home may be a bit difficult with such a wide variety of options. It can sometimes be difficult to know which style would look best on your home.

Factors to Consider

The size of your home and the site that you intend to build the deck are two major factors that determine which style of deck would best suit your home. The following is a list of just a few of the deck styles, which should provide a general idea of the options available to a homeowner.

Adding a deck to your home can be a great way to boost its value. It is one home renovation that definitely pays off in more ways than one.

Consider carefully the type of site that you are building on and the size of your home before choosing among the different home deck styles. Use your imagination and get creative when choosing the design and style. Express your personality and make your home look great with one simple home renovation.

When You Need Help

If you feel that you do not have the time to accomplish this task on your own, you do not have to worry. TalkLocal will match you with up to three qualified professionals in your area who can serve you.

How To Install An Artificial Turf

Tuesday, March 12th, 2013

How To Install An Artificial Turf - Landscapers

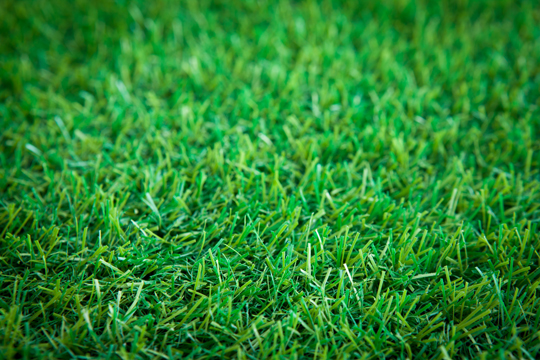
It is relatively simple learning how to install an artificial turf. Artificial turf can provide you with a long list of benefits and will look gorgeous. The following tips can help you get started.

What You Need

How to Install an Artificial Turf Easily

Now that you have prepared the area, it is time to install the turf. Installing the turf is a quick process, but must be done with precision.

Almost Done!

Only a few additional steps left until you’ve successfully learned how to install an artificial turf and your yard  looks immaculate. The final touches are as follows:

Need Help With That?

Use TalkLocal to find professionals to install artificial turf for you if you feel the task is too time consuming or difficult to complete.

How to be Safe When Cleaning Up Yard After Storm

Saturday, March 9th, 2013

How to be Safe When Cleaning Up Yard After Storm - Landscapers

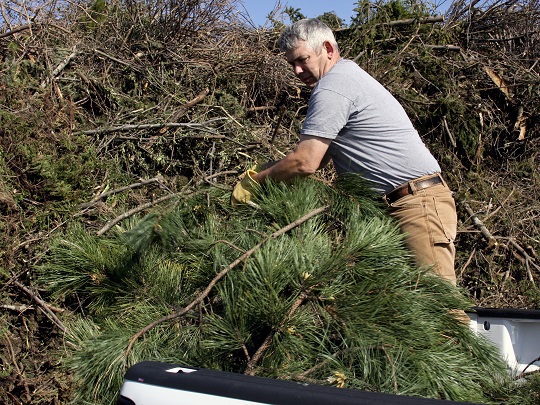
So the storm is over and now your yard is full of fallen trees and branches. Now begins the clean-up process. You may want to rush to get your yard cleaned up as fast as possible, but it is important to follow safety precautions when removing debris from your yard. The following tips will help you stay safe when cleaning up your yard following a major storm.

How to Be Safe When Cleaning Up Yard After Storm

– Electrocution is particularly dangerous when cleaning up after a storm. Power lines can become tangled in fallen trees and they may not be clearly visible. Before you begin any tree removal make sure you are completely clear of any power lines. Call your utility company or a professional electrician if there are any power outages or power lines down following a storm.

– If you use a chain saw to break down fallen trees and branches, makes sure to wear proper eye wear to avoid any eye injuries. Wear ear protection to prevent any long-term ear damage as well.

– When using a chainsaw, do not just start hacking away at any random pile of branches. Try to pull out the smaller branches first, before chopping up larger branches and the trunk of the tree.

– Kickbacks by chain saws can cause serious injury. Make sure your chain saw is in good condition before you begin.

– Wear long pants, heavy gloves, and work boots for protection.

Additional Help

Need professional help? Use TalkLocal to find a landscaping contractor or outdoor cleaning service for you! We will connect you with up to three local professionals in just minutes.

Common Perennial Flowers

Tuesday, March 5th, 2013

Common Perennial Flowers - Landscapers

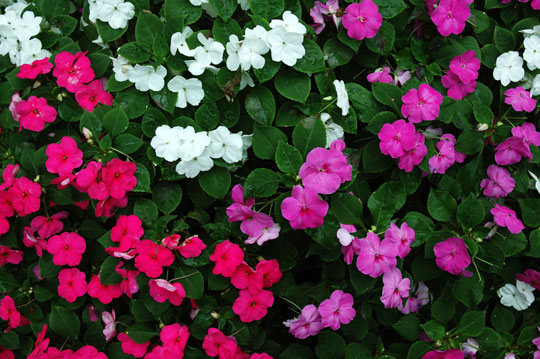
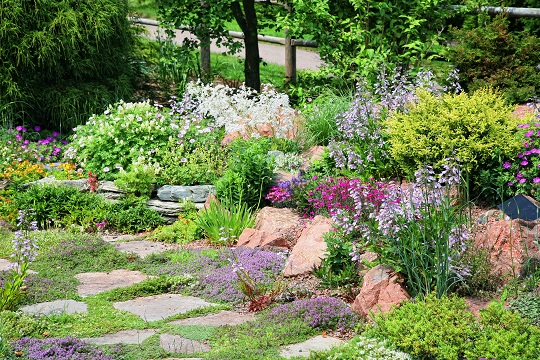
Every year, thousands of people do the same dance at local greenhouses. They search a few minutes for the prettiest annuals, throw them on the cart and take them home. While annuals certainly are pretty and often bloom many times, perennial flowers have their benefits and place in your garden or landscape as well.

What is a Perennial?

Like most grass seed that you plant, perennials (should) grow back either indefinitely or for a set number of years. This means they are often hardy, well rooted, and a one-time investment.

Which is Right for Me?

First, determine the area in which you will be planting. Does it receive light all day? Half of the day? Only indirectly? These will all determine which of the many common perennial flowers you have to choose from.

Full sun perennials (six-plus hours of sunlight):

Half sun/half shade (three to four hours of sunlight):

Full Shade (only indirect sunlight):

While light is a very important factor to consider, also consider the type of soil you will be planting in. Does it drain well or does it often hold moisture? What nitrogen content does it have? What is the PH level?

Some plants, such as hydrangeas, determine their color by the acidity of the soil. Some plants will quickly die if it is too acidic or not acidic enough. Others may need a quick drink but don’t like to sit in the water for hours. Add to all these factors the fact that you want your house to have a significant amount of curb appeal and you might have a lot on your plate.

Feeling Overwhelmed?

With so many common perennial flowers to choose from, making sure you put together the right ones for your home is important. If you are feeling a bit overwhelmed, consider hiring a professional landscaper. TalkLocal can hook you up with a local professional that has experience and is located in the area. Our service is free and incredibly easy.

How to Mulch Your Lawn

Sunday, March 3rd, 2013

How to Mulch Your Lawn - Landscapers

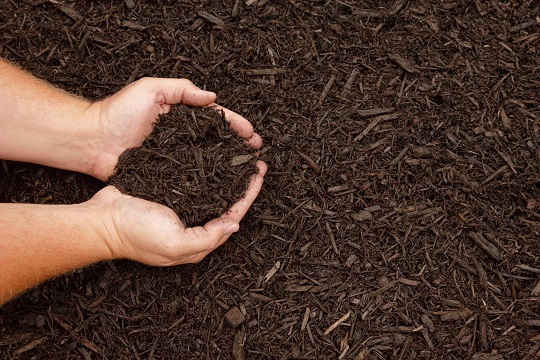
A first impression lasts forever, and the way your lawn looks says a lot about you and your home. A spotty, weed-infested and sparse landscape makes the rest of your home look dingy and run down and makes you seem like you don’t care. Therefore, it’s important to take good care of your lawn through regular feeding and maintenance. One way you can do this is by mulching. Mulching involves the application organic matter to a surface in order to add nutrients and enhance growth. Here’s how to mulch your lawn.

Why Mulch Your Lawn?

1. The high nitrogen content of mulch makes the grass greener and promotes dense growth. The thicker the growth is, the harder it will be for weeds to take hold.

2. Mulch is excellent at holding in moisture, making your grass less susceptible to prolonged drought.

3. Mulch helps to block out the growth of weeds and deter pests.

4. The presence of mulch on your lawn encourages a healthy earthworm population, as this is a great source of food for them. Earthworms are highly beneficial to your grass, aerating the soil with their tunnels and fertilizing the roots with their castings.

5. Mulch protects against soil degradation and erosion by shielding it from the sun, wind, and rain.

How to Mulch Your Lawn

1. Choose your mulch. You can use wheat, barley and oat straw, but many homeowners prefer mulched grass clippings. These are grass clippings that have been finely cut to make them spreadable.

2. Once you have your mulch, just sprinkle it over your yard generously, and evenly, and give it a thorough watering. Watering afterward weighs the mulch down into the grass and helps it to begin decomposing.

When Should You Mulch You Lawn?

Mulching can be done almost any time of the year. However, it is most recommended when temperatures get very high and there hasn’t been much rain. It’s also a good idea to mulch in mid to late fall. This feeds and protects your lawn throughout the winter.

Further Assistance

If this job sounds too big for you, you can use TalkLocal to find a landscaper near you. We will connect you with up to three reputable landscaping contractors who will be available to help you when you need them.

Lawn Mower Problems Troubleshooting

Saturday, March 2nd, 2013

Lawn Mower Problems Troubleshooting - Landscapers

We’ve all been there: mowing the lawn on a hot summer’s day, trying to get it done, when the lawn mower just stops running. Luckily, there are a few tricks you can try to troubleshoot your lawn mower’s issues.

Lawn Mower Problems Troubleshooting

1. Check your gas tank. Is it filled? Needless to say that once a lawnmower runs out of fuel, it won’t start up – fill it to a significant amount to make sure that this isn’t the problem before continuing the troubleshooting.

2. Make sure that the gas is being fed into the engine by inspecting the flow of gas (check for any blockages in the pipelines, etc). Clean up any pipe buildups if there are any and continue. Also check to see if the incline (slope) on the pipelines naturally feeds the gas into the engine.

3. Check to see that the pull (the handle that you pull on to start up the engine) is smooth – if you are having difficulty pulling the pull, this means that there is a mismatch in the internal combustion engine (the engine that propels the blades cutting the grass)

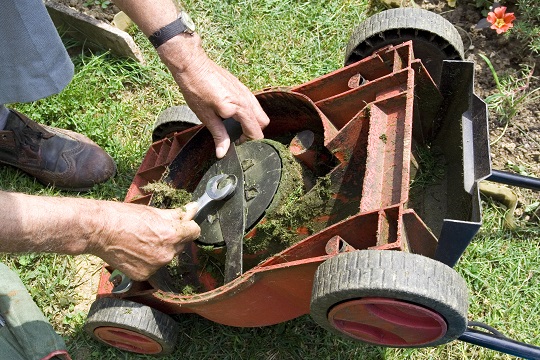
4. If you are having a problem with the pull or if the lawnmower still isn’t starting up after going through these checks, it’s time to check the internal engine. Undo the screws on the external shell of the lawnmower to reveal the engine inside – and take a look to see if any parts are damaged or worn.

5. Check also to see that there are no gas leaks from the pipelines or the engine.

6. Finally check to see if the oil is fresh – unchanged/stale oil can wear out the engine much faster.

My Lawnmower Won’t Cut Grass

1. If your lawn mower is running properly, but will not cut the grass, check the blades of your lawnmower. Turn off the engine and try to turn the blades manually while the mower is upside down.

2. Check to see that the rotor spinning the blades is connected to the engine and check to see if the engine is working. If the engine is working but the blades are not turning, check the connection between the rotor and the engine.

3. Check to see if the blades are dull as well. Unbalanced or dull blades can throw off the balance of the lawnmower – look for replacement blades in your local utility store if this is the case. Also check to see that the blades are set low enough on the mower that they will actually cut grass instead of just hovering in the air.

Additional Help

If you feel like you need professional help on lawn mower problems troubleshooting, or if you would like to find a lawn service, just use TalkLocal. We will connect you with up to three landscaping professionals in your area, who will be able to help you out.


Fertilize Oak Trees

Friday, March 1st, 2013

Fertilize Oak Trees - Landscapers

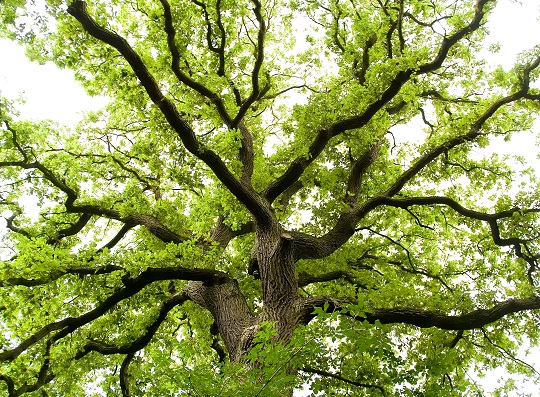
Taking care of your oak tree will ensure its health and longevity. Some fertilizers are good for oak trees, but they can damage the environment. Harsh industrial chemicals found in fertilizers usually contain an herbicide and can distress the surrounding wildlife. When picking a fertilizer, try to purchase one that is as natural as possible—or your tree can fertilize itself! Keep reading to find out how to fertilize oak trees the natural and healthy way.

Using Composting to Fertilize Oak Trees

Compost is defined as decaying organic matter that can be used as fertilizer. It is like nature’s own recycling system. Start a compost heap by your oak tree. Try to grind or cut up the compost into small pieces so that the oak tree can easily absorb the nutrients.  Appropriate compost material includes:

-Leaves

-Twigs

-Some animal manure (cow, poultry, rabbit, horse)

-Fruit rinds

-Lawn clippings

Do not compost:

-Cat and dog manure

-Meat

-Dairy

-Diseased plants

Oak Tree Litter

The oak tree litter- including leaves, branches, and oak wood chips- is great for the tree. Leave the oak tree’s natural mulch underneath the tree. Oak leaf litter naturally falls to the ground and provides nutrients for the tree while supporting many microorganisms. The microorganisms in the oak litter protect the tree from fungal diseases. Simply weed around your oak tree regularly to ensure that weeds do not take away water and nutrients from the tree. Overall, oak tree litter is great, helping the tree absorb water and nutrients while protecting the tree from diseases.

Further Assistance

Natural fertilizers are the best choice for oak trees. Have a professional landscaper examine your oak tree to determine what is best. TalkLocal can help connect you with quality landscapers in your local area. We will connect you with up to three professionals in just minutes.

How to Thin Shrubs

Thursday, February 28th, 2013

How to Thin Shrubs - Landscapers

Overgrown shrubs are not a pleasant sight and can invite unwanted pests near your home. Don’t be stuck in a jungle! Learn how to thin shrubs yourself.

Why is Pruning Necessary?

Thinning out your shrubs is the least noticeable form of pruning. It is like cutting your hair because it involves selectively removing branches, flower buds, roots, or seed pods so that the shrub can grow healthily, as well as look aesthetically pleasing. Dead or diseased branches can invite insects, so pruning is important for keeping away nasty bugs.

Thinning also serves to thin out branches in order to allow more sunlight to reach the entire shrub and other plants around it. Long branches overcrowd shrubs and prevent a healthy amount of sunlight from shining through. Plants underneath shrubs are also blocked from receiving sunlight, and run the risk of decaying and attracting insects. It is important to thin out shrubs not only for the sake of the shrub, but for all of the plants surrounding it.

How to Thin Shrubs Out

The best time to thin out shrubs is in the Fall, Winter or early Spring. If you have shrubs that have flowers, do not thin out the shrub in early spring because you will end up trimming the flower buds.

Before you begin, think about the natural shape of the shrub. Remove branches that do not fit in the regular form of the shrub. Thin out the shrub so that it maintains its form; do not try to turn it into another shape.

Use a saw, loppers or pruning sheers to thin out shrubs.  You never want to trim out more than 1/3 of the shrub at a time. If you have an overgrown shrub, bring it down only 1/3 and then another 1/3 the next time you thin it out so as to not severely damage or shock the shrub. You may trim down to wherever the overgrown branch meets another branch.

When removing a diseased branch, stump, or root, use a sterilized blade. Disinfect the blade or cutting tool between each cut or chop. Use beach or wood alcohol. If you are not cautious, the blade could spread the disease.

Additional Help

If you need major shrub trimming, TalkLocal can help connect you with the best local landscapers in your area. You will be connected with up to three landscaping contractors who will be available to help you when you need them.

How to Install Concrete Curbing

Wednesday, February 27th, 2013

How to Install Concrete Curbing - Landscapers

Concrete curbing, also known as concrete edging, is simpler to install than you think. Learn how to install concrete curbing in four simple steps.

Supplies you will need to install a concrete curb:

-Cement

-Gardening hoe

-1’’ x 4’’ boards

-Leveling tool

-Nails

-Hammer

-Stakes

-Pick

How to Install Concrete Curbing

Dig: Mark the area in which you want to install the curb and dig an 8-inch wide trench that is 2-4 inches deep. Make sure you hit dirt because you do not want to lay the concrete on rocks or glass.

Frame: In order to maintain an upright curb with sharp edges, set the 1” x 4” wooden boards along the edges of the trench. Place the boards as wide as you want the cement curb to be. Then, push the stakes into the ground to hold the boards in place; the stakes should be outside of the trench. Make sure the boards are stable to facilitate the cement pouring and leveling process.

Mix: Purchase cement mix from your local hardware store. Mix it in a bucket according to the manufacturer’s directions.

Pour: Carefully pour the concrete mix into the frame you constructed. Make sure to level the concrete with your leveling tool in order to ensure evenness. Tap out any air that might be trapped under the concrete before the concrete dries. Only pour concrete up to the top of the wooden board frame.

Remove the Frame: Once the concrete has dried (see the cement mix packaging for details), remove the wooden frame and stakes. If you choose to color your curb, then you should purchase curb sealant to protect against water damage.

Additional Help

Consider calling a professional if you plan on installing a large amount of concrete curbing. TalkLocal can help connect you with up to three professional landscaping contractors in your area, who will be available to help you when you need them.

How Soon After Fertilizing Can I Mow Lawn?

Tuesday, February 26th, 2013

How Soon After Fertilizing Can I Mow Lawn? - Landscapers

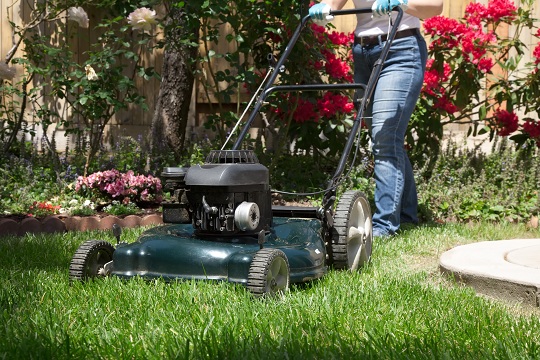
If you are using fertilizer on your lawn, you may be asking, “how soon after fertilizing can I mow lawn?” To have the greenest and healthiest lawn possible, it is important to know when and under what conditions you should cut the grass.  After fertilizing the lawn, you should wait 24-48 hours before mowing. Mowing too soon will just vacuum up the fertilizer, wasting valuable time and money. Even if your grass is looking a bit out of control, play it safe and wait about a day or two before mowing the lawn after fertilizing.

Other helpful tips:

–          Don’t mow the lawn when the grass is wet. Mowing a wet or muddy lawn will damage the grass.

–          It is best to water in the fertilizer, so wait for the grass to dry completely before mowing your lawn.

–          Don’t cut the grass too short. Short grass has shallower roots and is less likely to withstand the summer heat.

–          Don’t wait too long to mow your lawn. Letting the grass grow several inches before mowing damages the grass. You should mow frequently enough so that you are only cutting 1/3 of the blade when you mow.

–          If you mow your grass frequently there is no need to bag the grass. The grass clippings will decompose where they fall and are actually a great natural lawn fertilizer.

Additional Help

Need professional lawn help? Look no further than TalkLocal! We can connect you with up to three reliable landscaping professionals. Just type in what, where, and when you need help and TalkLocal will connect you in minutes!